In this article
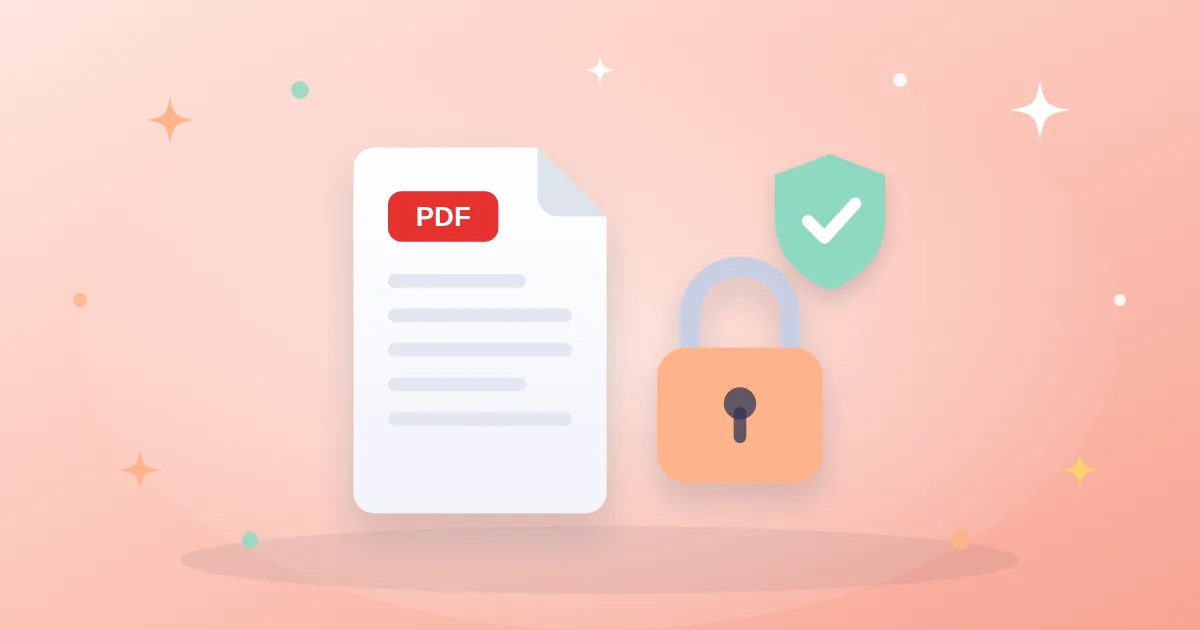
Every day we send documents full of personal information: ID copies, payslips, contracts, medical reports. Once a file leaves your inbox, you don’t know where it will be stored or who will see it. Fortunately, there are three simple layers of protection.
Layer 1: an open password
The Protect PDF tool prevents the file from opening without a password, so anyone who receives it by mistake can’t read it.
- Use a long password of at least 12 characters — the Password Generator can create one.
- Never send the password in the same message as the file; share it through another channel such as a text or a call.
- Store the password safely; if you forget it, the file may be very hard to open.
Layer 2: a watermark
When sending a copy of your ID, add a line such as “Copy for opening an account at X Bank – today’s date” with the Watermark PDF tool. It makes reusing the copy for another purpose much harder and reveals the source if it leaks.
Layer 3: redaction
Often the recipient doesn’t need all the data. Does a landlord need your full bank account number? The Redact PDF tool covers sensitive parts with black boxes.
Important warning: drawing a black rectangle over text in a regular editor isn’t enough — the text may still be underneath and copyable. Proper redaction actually removes the original text from the file. Afterwards, try selecting and copying the area to make sure.
Which layer for which document?
| Document | Suggested protection |
|---|---|
| ID card or passport copy | Watermark with purpose and date |
| Bank statement | Redact unneeded numbers + password |
| Medical report | Password |
| Contract for review | “Draft” watermark |
What about removing protection?
If you have an old protected file and know its password, you can remove the protection with Unlock PDF to make archiving easier. Only use it on files you are entitled to access.
Bottom line
A password blocks reading, a watermark states the purpose, and redaction removes what isn’t needed. Since these tools run in your browser, your sensitive documents are never uploaded to a server while you protect them.